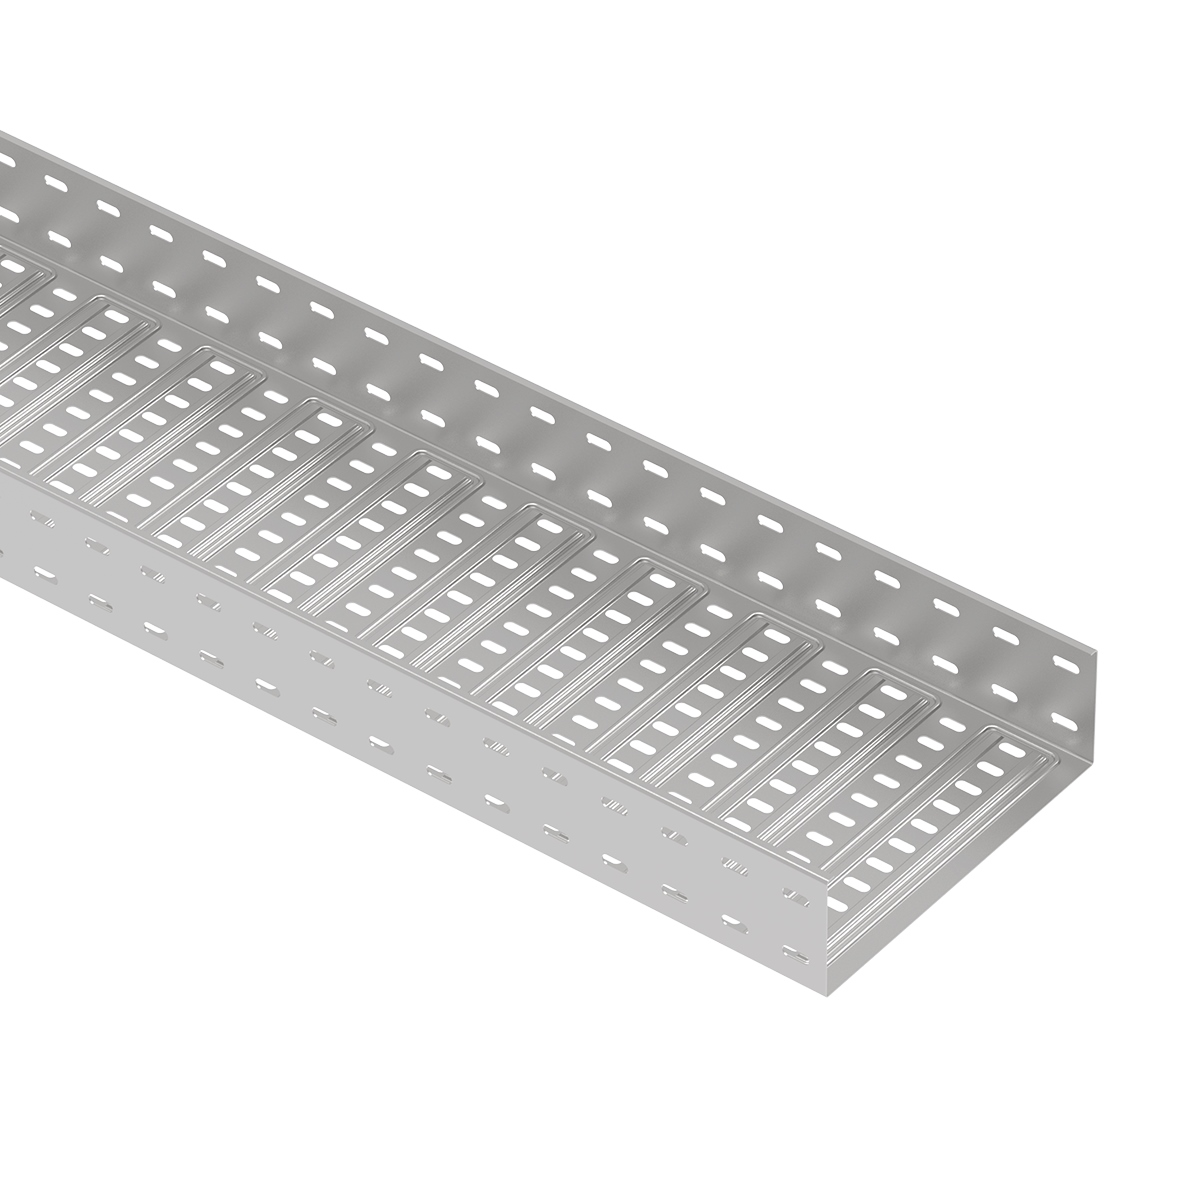
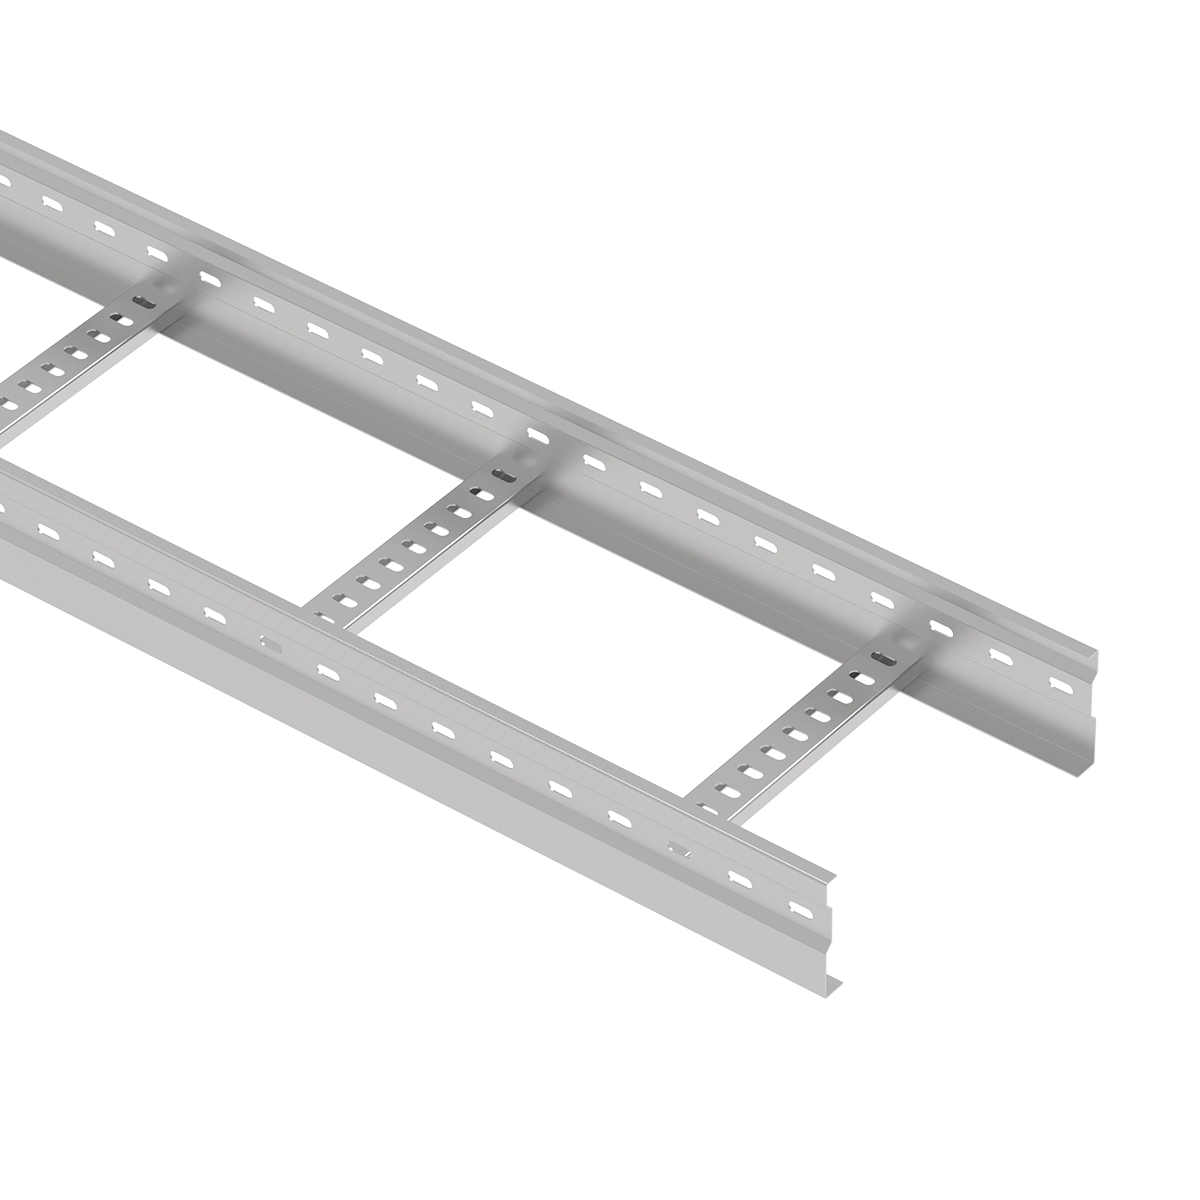
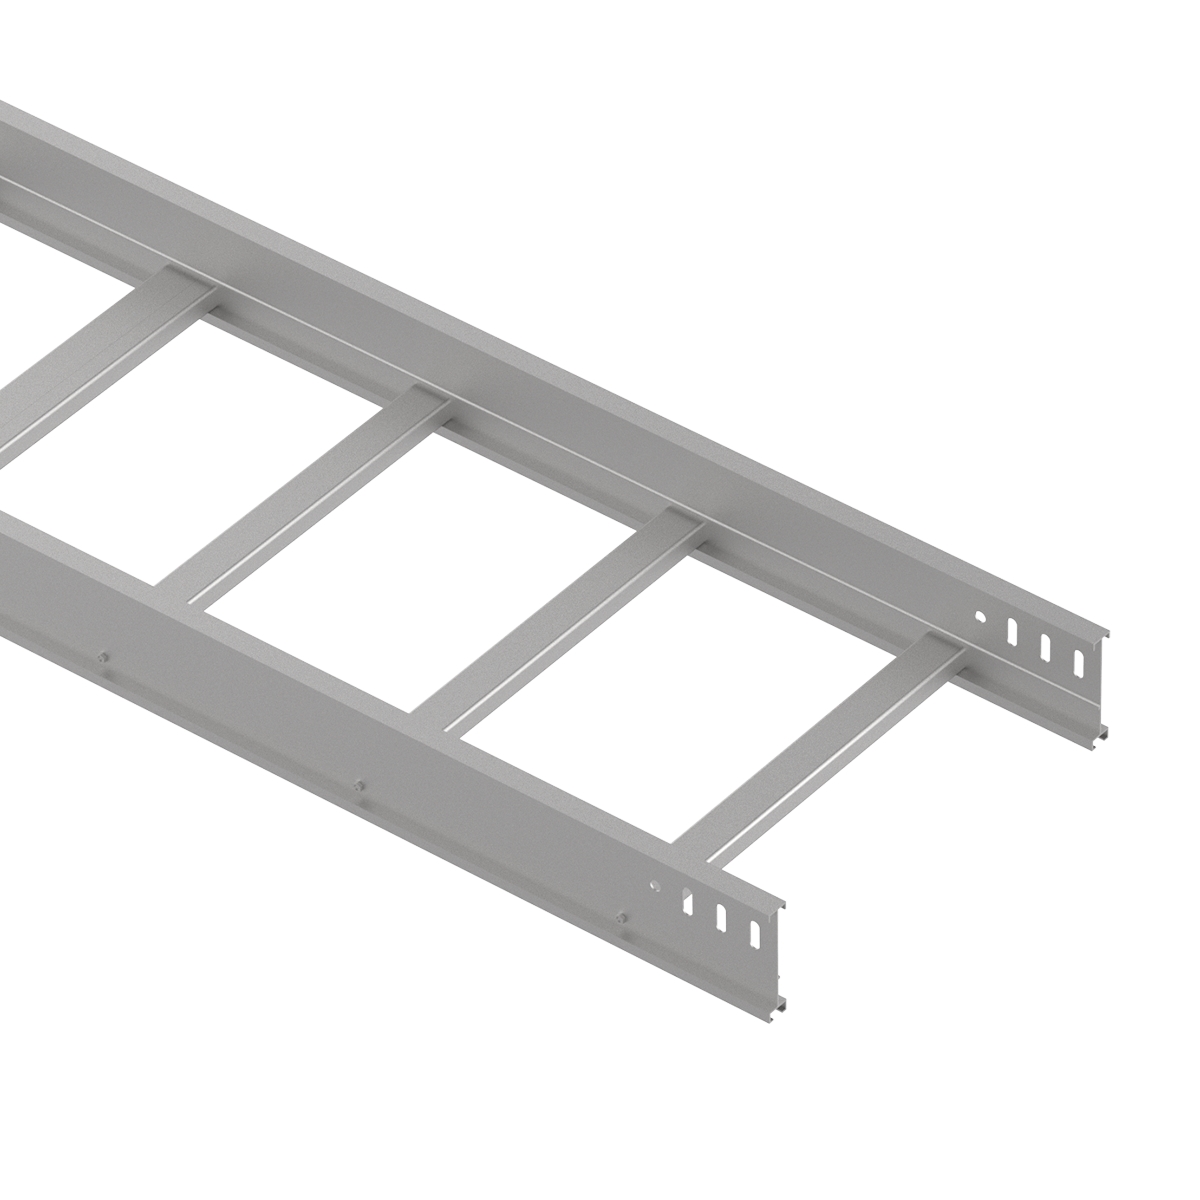
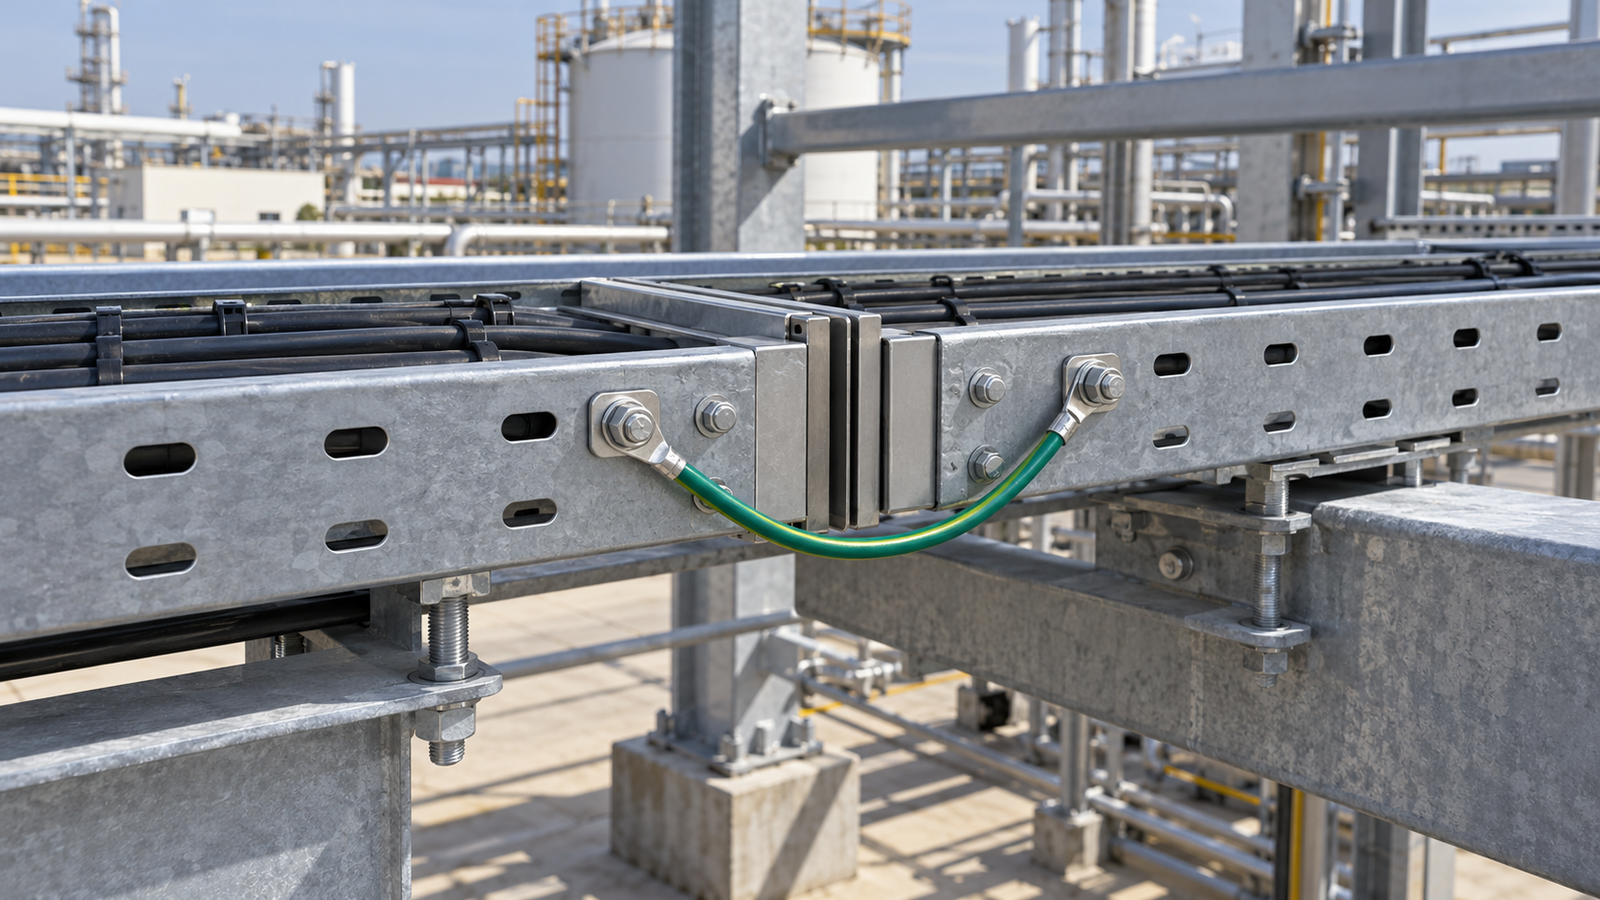
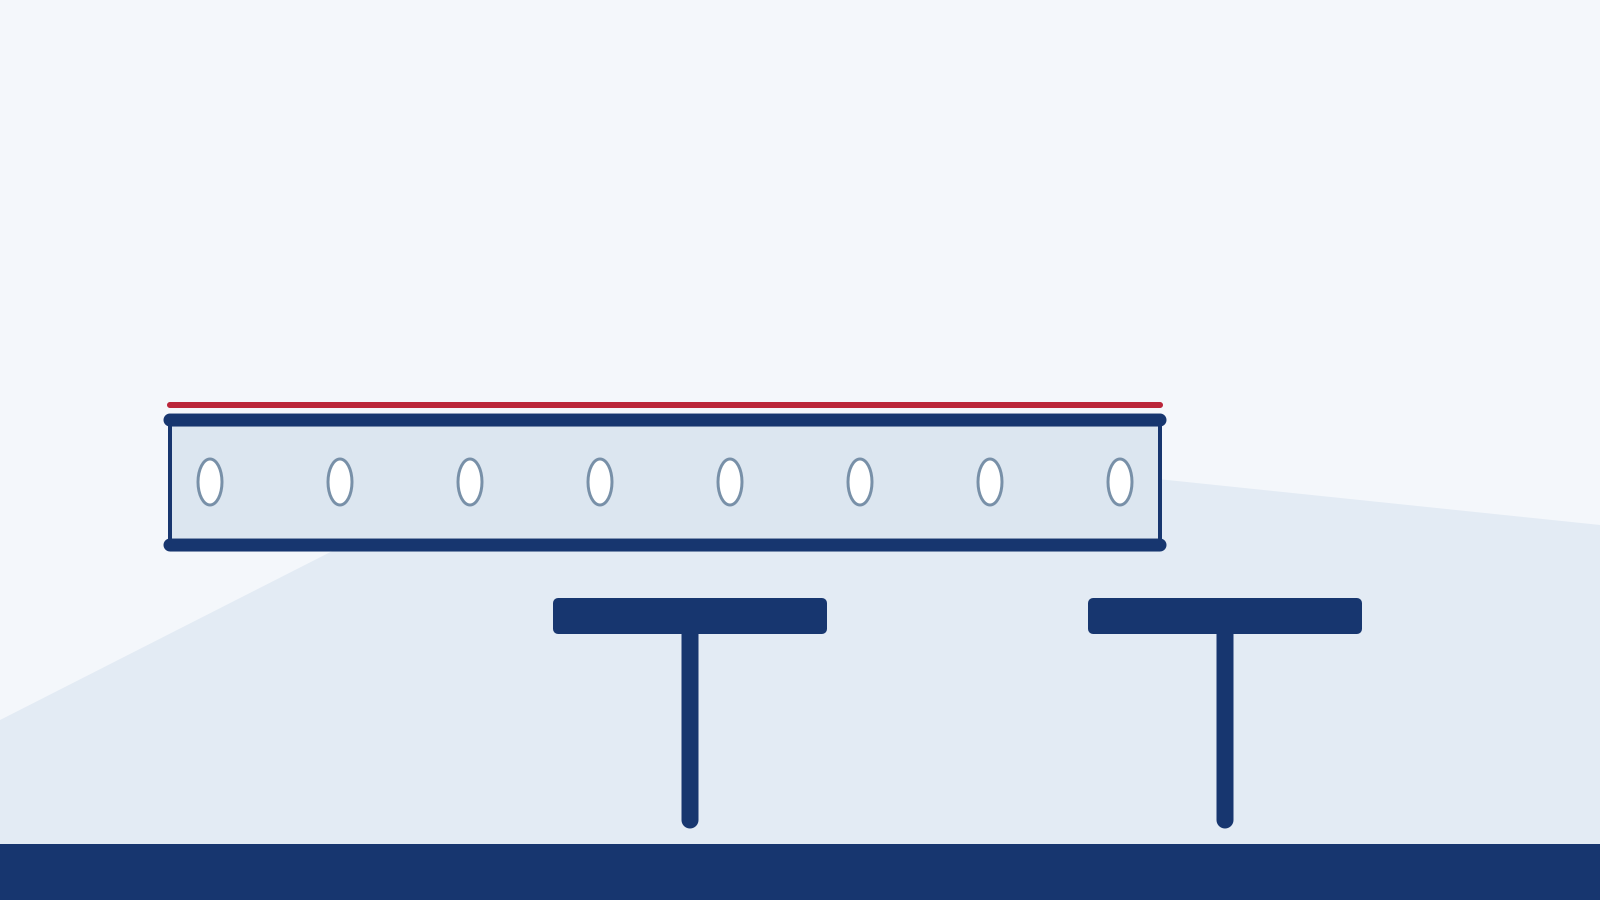
A cable ladder hold down clamp restrains a ladder side rail at a support. It is not the part that proves the ladder can carry a specified cable load, and it is not a cleat that restrains an individual cable. That distinction matters when a drawing says only “clamp at support”: the wrong accessory may fit the metalwork yet fail to provide the intended restraint, or it may prevent movement that the route needs.
Start with the function at each support. Does the design call for a fixed point, a guided position that permits longitudinal movement, or only a load-bearing support? Then identify the exact ladder rail and support geometry, the exposure, and the manufacturer's connection detail. This order avoids choosing a familiar-looking clamp before the movement and load path have been resolved. The guide below gives a selection and inspection method; it does not assign an unverified rating, clamp quantity or torque to any ECTRAY product.
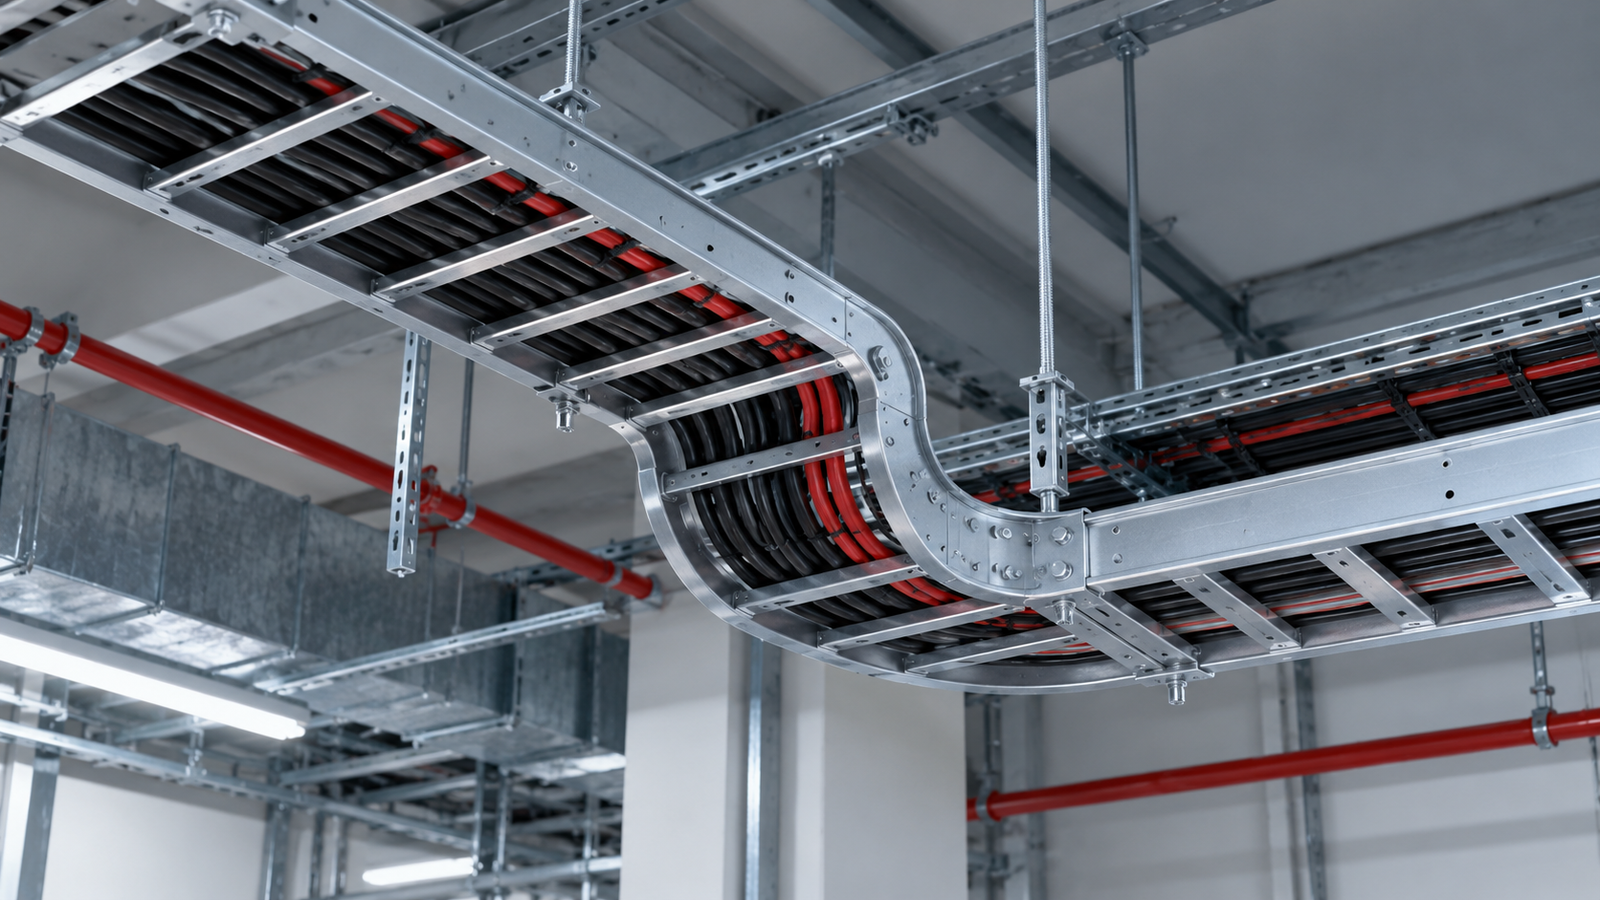
The ladder, its supports and the supporting structure form one load path. Cable weight passes through the ladder to brackets or cross-members, then through their fixings into the building or plant structure. A hold-down clamp addresses a different question: whether the side rail can lift or shift relative to that support under the conditions considered in the project design. It must engage the intended rail profile and be fastened to a support capable of taking the resulting forces.
This is why a clamp cannot repair an undersized bracket or prove a ladder's span rating. A product catalogue might show both a ladder load table and a compatible clamp, but those are distinct pieces of evidence. Confirm the ladder and support against the design load, and confirm the restraint arrangement against the route's movement and environmental loads. Neither check should be inferred from the other.
There is another common naming trap. A cable cleat grips or restrains a conductor or cable group, often for a cable-specific electrical or mechanical duty. A ladder hold-down secures the ladder itself to its support. If a bill of materials says “cable clamp”, ask which object is being restrained before selecting a part. The answer changes the component, its location and the evidence required.
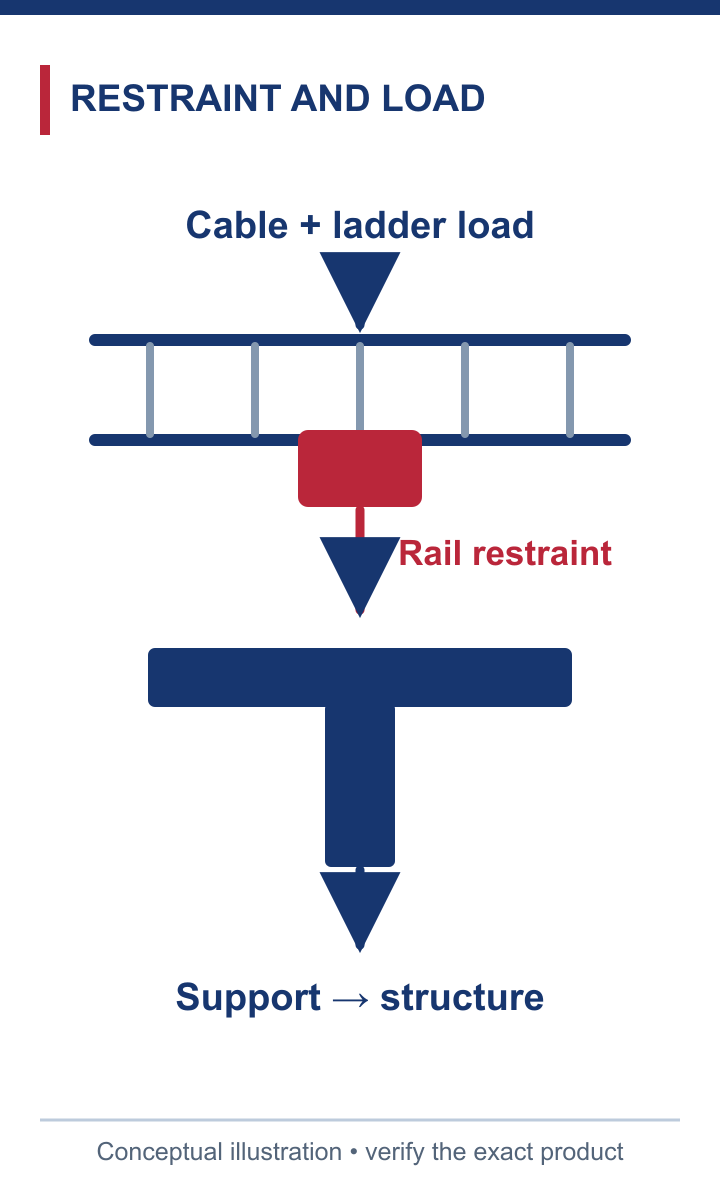
A hold-down clamp restrains the rail; it does not establish the ladder load rating.
On a long straight run, temperature changes can make the ladder expand and contract. The project may therefore combine expansion connections, one or more defined fixed points and guides that keep the route aligned while permitting movement. A hold-down used as a fixed point and a sliding guide are not interchangeable, even if both sit at a support.
Locate these functions on the approved route drawing before counting clamps. Mark the expansion joints, the direction of expected movement and the support positions on each side. Then check the selected manufacturer's instructions for the permitted joint gap, guide arrangement, bonding detail and fixed-point location. Manufacturer examples provide useful ways to think about the system, but their spacing or clamp count should not be copied to a different ladder series.
For instance, if a guide is accidentally tightened until it grips a side rail as a rigid hold-down, the expansion joint may no longer travel as designed. The reverse error leaves a required fixed point without positive restraint. Both faults can be difficult to see after cables are installed. Treat the movement scheme as an installation drawing and inspection item, not as a note left for the fitter to improvise.
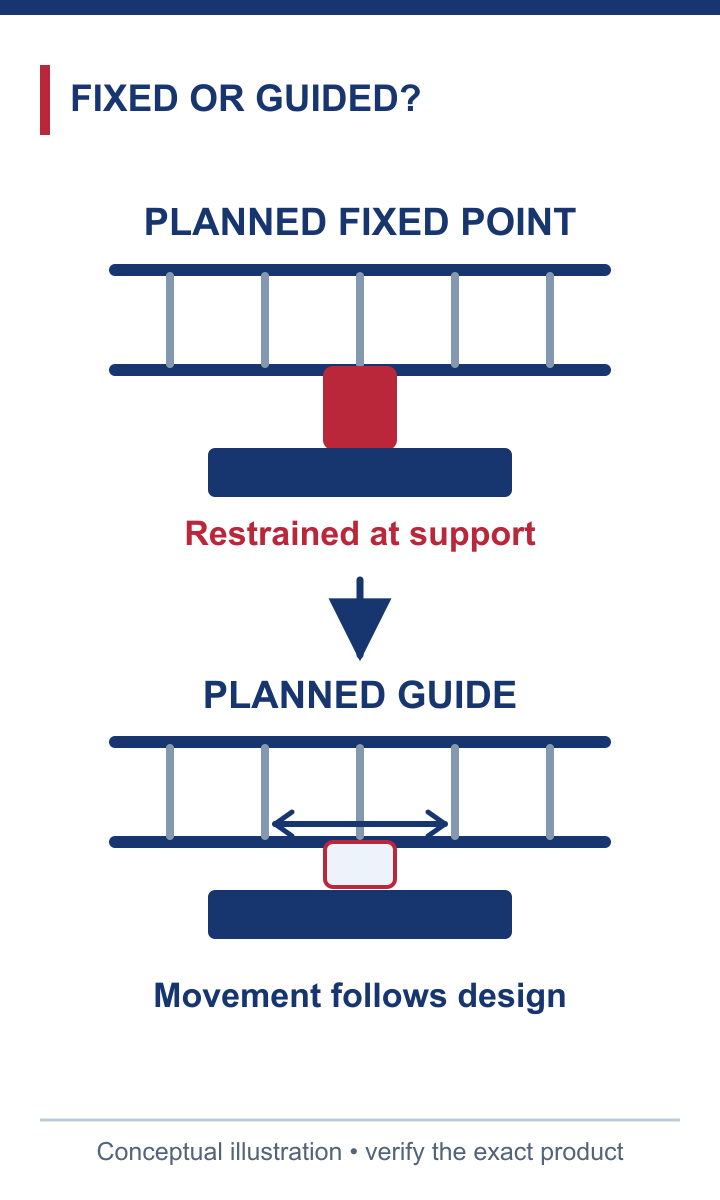
Fixed and guided locations serve different design purposes.
A workable selection begins at the rail. Record the ladder series, side-rail height, flange or return shape, material and any protective finish. A clamp that suits one channel or flange may foul another profile, grip only an edge, or require a hole or slot that the chosen rail does not have. Ask for the manufacturer's compatibility reference or a dimensioned connection detail rather than relying on a photograph.
Next look below the rail. Is the ladder carried on a wall bracket, a trapeze cross-member, a steel beam attachment or a different support? Record the support section, hole pattern and fixing arrangement. The clamp must engage the rail and connect to that support without placing a fastener where it conflicts with a rung, splice plate, cover or cable route. The assembly also needs enough access for installation and later inspection.
Finally check the fastener set. Specify the bolt, nut, washer and any isolation or anti-loosening component required by the approved detail. Do not substitute a convenient bolt just because it fits the hole. If the proposed ladder and clamp come from different product families, seek an explicit compatibility decision. It is cheaper to settle a disputed rail dimension before procurement than to modify protective finishes or drill on site to make parts meet.
The clamp is exposed to the same environment as the ladder and support, sometimes at a more vulnerable contact point. Compare their materials and finishes as an assembly: for example, an aluminium ladder on a steel support may need an approved separation detail where moisture and dissimilar metals make galvanic corrosion a concern. The answer depends on the metal pair, exposed contact area, moisture and the manufacturer's specified isolation method.
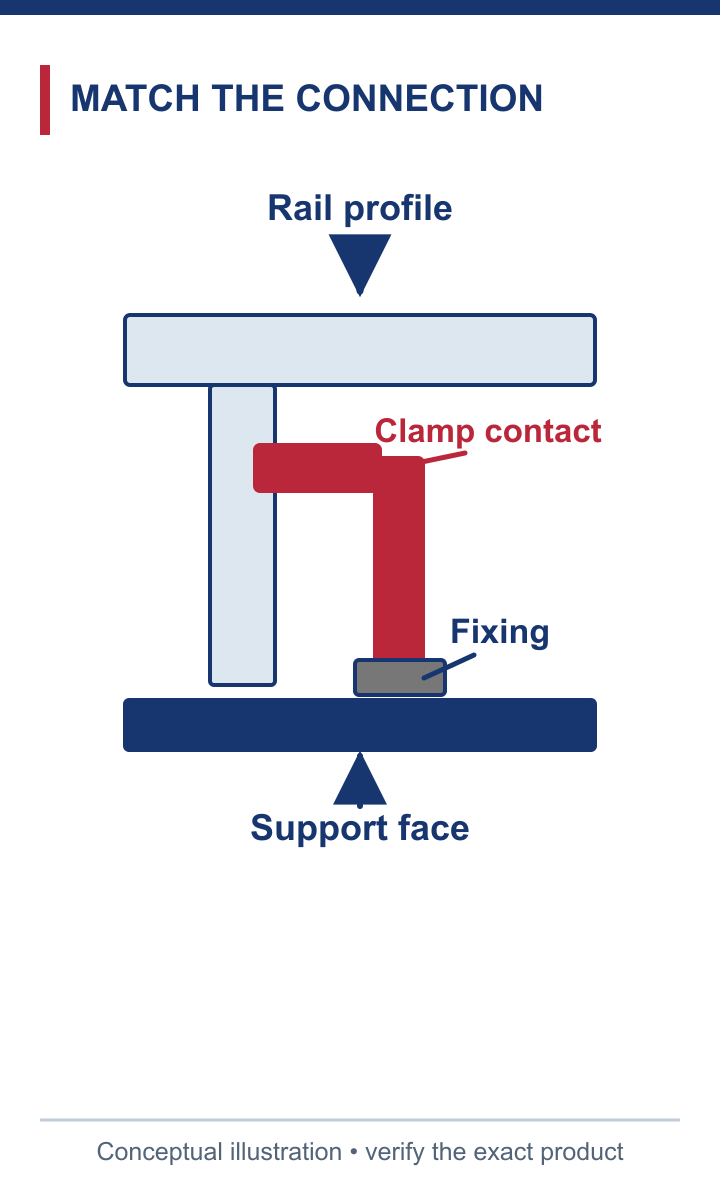
Match the rail, clamp, fixing and support as one connection.
Do not assume that a corrosion-resistant ladder remains protected if the clamp, washer or cut edge has a different finish. Equally, do not add insulating parts without checking whether the design relies on a bonding path through the connection. Mechanical restraint, corrosion protection and electrical continuity must all be considered, but one accessory should not be presumed to satisfy all three duties.
For outdoor, coastal, chemical or wash-down service, identify the actual exposure and ask for a matching material and finish specification. Where a finish is damaged during installation, use the approved repair procedure for that system. The inspection record should identify the chosen material combination so a replacement clamp can be matched later; “stainless” or “galvanised” alone may not be enough to identify the approved part.
Before fixing hardware, compare the installed support positions with the approved route drawing. Check that the ladder sits squarely, the side rails are not distorted and the restraint locations correspond to the intended fixed points. If a different support or ladder section was installed, resolve the change before proceeding; the approved clamp schedule may no longer apply.
At each specified location, verify the correct clamp and fastener against the drawing or manufacturer's installation sheet. Engage the rail in the intended orientation, confirm any requirement to restrain both rails and tighten using the product-specific procedure. No universal torque or “two clamps everywhere” rule follows from an example for another system. A guide location deserves its own check: the hardware should control lateral position without defeating the longitudinal movement the design requires.
Inspect accessible contact points for incomplete engagement, damaged coating, loose or mismatched hardware and interference with splices, covers or cables. Confirm any required bonding arrangement separately, particularly at an expansion connection. Record changes and sign off the as-built restraint and guide locations while they remain visible. A photograph may support that record, but it cannot substitute for the relevant product and installation details.
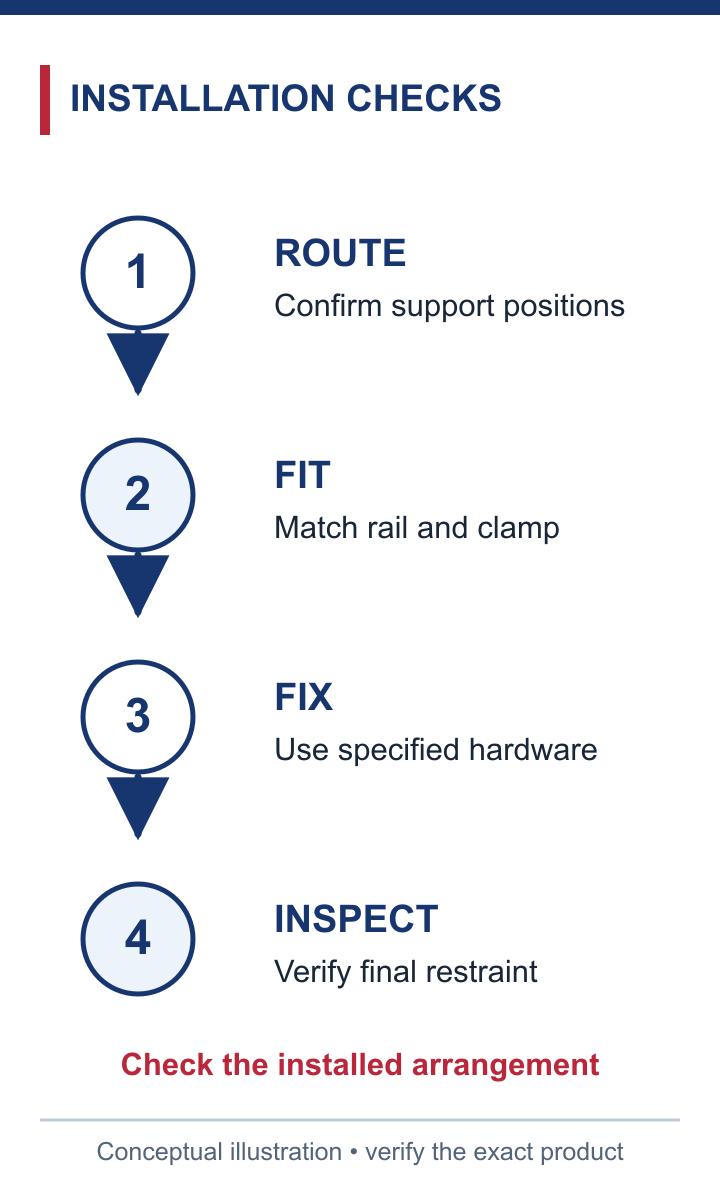
Check the installed arrangement, not the loose parts alone.
An RFQ can prevent most wrong-part decisions if it describes the whole connection rather than only asking for “hold-down clamps”. Give the supplier the ladder series and rail profile, the support type and section, the material and finish of each member, and the number and location of required fixed and guided positions. Include the expansion layout, environment and any special project loads or restraint requirements that the designer has identified.
Ask for a drawing or datasheet that shows rail engagement, dimensions and the complete fastener set. Request the installation instruction, any product-specific tightening procedure, compatibility statement and inspection criteria. Where electrical continuity or isolation matters, request the approved detail for that duty too. If a proposed substitute changes the rail contact or support interface, require a reviewed substitution rather than treating it as an equivalent by name.
The procurement output should make a site check possible: a fitter ought to be able to identify the correct part and position without guessing what the designer meant. Keep the final schedule with the drawing revision and the exact product references. That simple record also gives maintenance teams a way to replace a damaged clamp without quietly changing the restraint scheme.
ECTRAY's installation guidance treats hold-down clamps and expansion guides as project-dependent accessories, not a blanket list for every support. Yuchang's approved customer information says its technical team can recommend cable-support configurations using project loads, spans, installation conditions and environmental requirements. That is useful when a buyer has a ladder and support arrangement but lacks a confirmed clamp detail.
Send the ladder series, rail dimensions, support drawing, material and exposure, planned expansion joints and the positions intended to be fixed or guided. Ask the team to identify a compatible clamp and fastener set and to provide the product-specific drawing or datasheet. If a torque, restraint rating or test claim is essential to the project, request the exact supporting document before putting that value into the specification. A general guide, including this one, is not evidence of a particular ECTRAY model's performance.
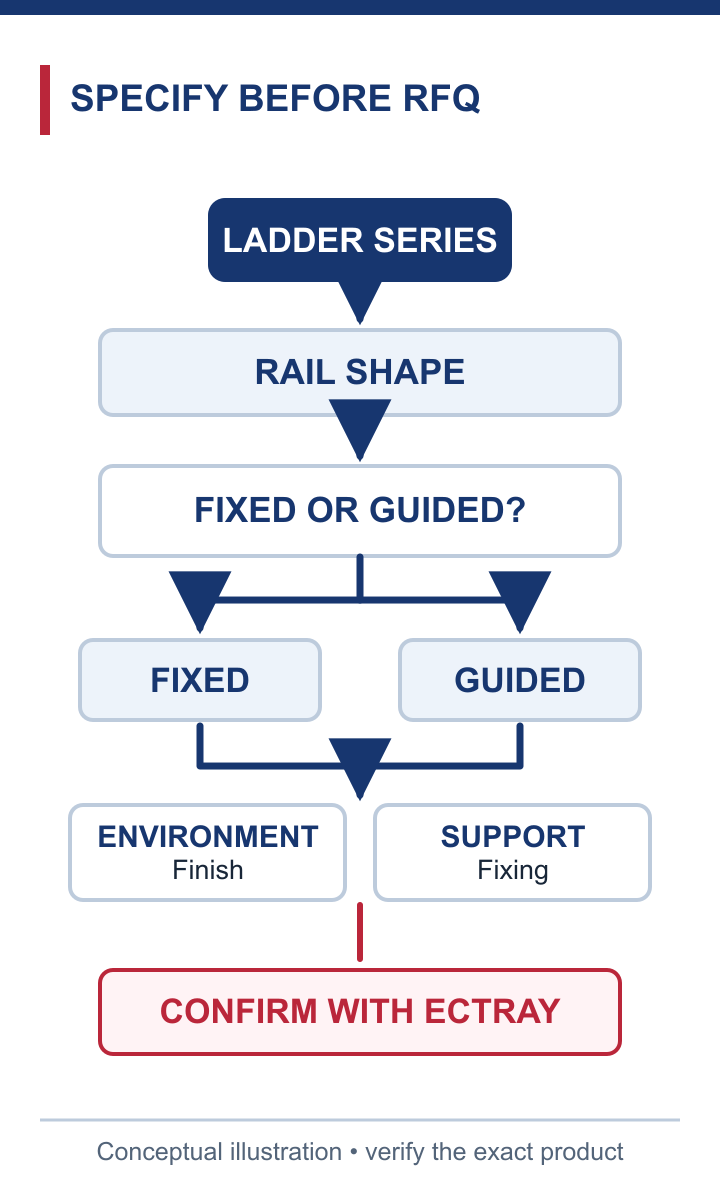
Give the supplier the project conditions rather than assuming one clamp fits every ladder.
The practical result should be a traceable selection: named components, an approved movement arrangement and an installation detail that procurement and site teams can use. If those inputs are not yet available, the next step is to complete the route and support design, not to guess a clamp quantity from another manufacturer's example.
Before release, make five checks. First, confirm that the item restrains the ladder rail rather than a cable or cover. Second, check that the ladder, support and structure have been assessed for their own load duties. Third, confirm which positions are fixed and which must guide movement. Fourth, match the clamp and fasteners to the actual rail, support, material and environment. Fifth, retain the manufacturer-specific installation and inspection evidence for the exact part supplied.
The central decision is functional, not cosmetic: a cable ladder hold down clamp must restrain the ladder where the design requires it and preserve movement where the design allows it. Once that distinction is on the drawing, the clamp can be selected and inspected as part of a complete cable-support system. If a drawing or datasheet cannot establish compatibility, hold that selection for a project-specific technical check rather than turning an attractive catalogue picture into an unsupported specification.